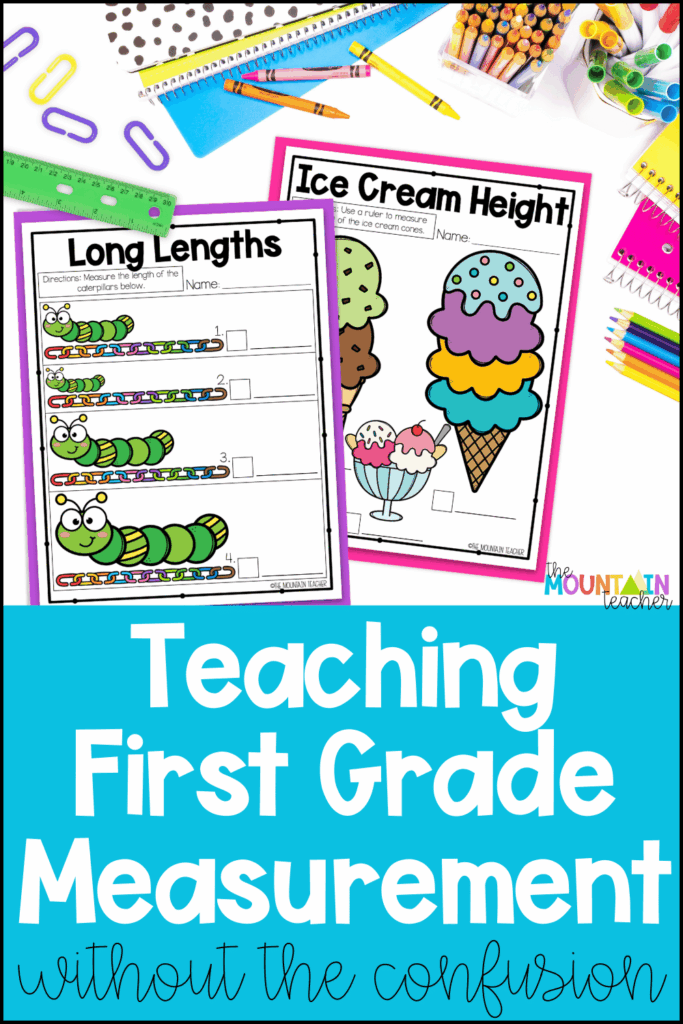
Have you ever watched a group of first graders excitedly hold a ruler up to everything in your classroom? Pencils, desks, shoes, books. . . students want to measure it all! Teaching first grade measurement is full of excitement. But approaching it in a way that kids remember can feel tricky. The key is helping students build a strong foundation before expecting them to measure accurately. With the right structure and plenty of hands-on practice, first graders can develop a clear understanding of measurement that actually sticks. Ready for all my secrets? Let’s dive in!
Why Measurement Feels Difficult for First Graders
Measurement might seem straightforward to adults, but for young learners, it requires several new ideas all at once. Students must understand that objects need to be measured using equal-sized units placed end to end with no gaps or overlaps. They also begin learning vocabulary like length, height, longest, and shortest while comparing objects around them.
On top of that, students eventually transition from nonstandard measurement tools like cubes or links to using inches on a ruler. That shift from concrete objects to a numbered measuring tool can feel confusing if students haven’t had enough practice first.
Without a clear progression, many students start guessing instead of truly understanding how measurement works. That’s why teaching this concept step by step makes such a difference! Ready to see how this comes together? Let’s walk through my method for approaching first-grade measurement in a way that sticks!
Step One: Define Terms and Start With Nonstandard Measurement
The best way to begin teaching measurement is by first defining your terms (height, length, shortest, tallest, etc.) and by using simple, hands-on tools like snap cubes or measuring links. In my room, I use visual anchor charts to help define new vocabulary words alongside manipulatives to allow students to physically see how measurement works as they place units side by side to measure an object.
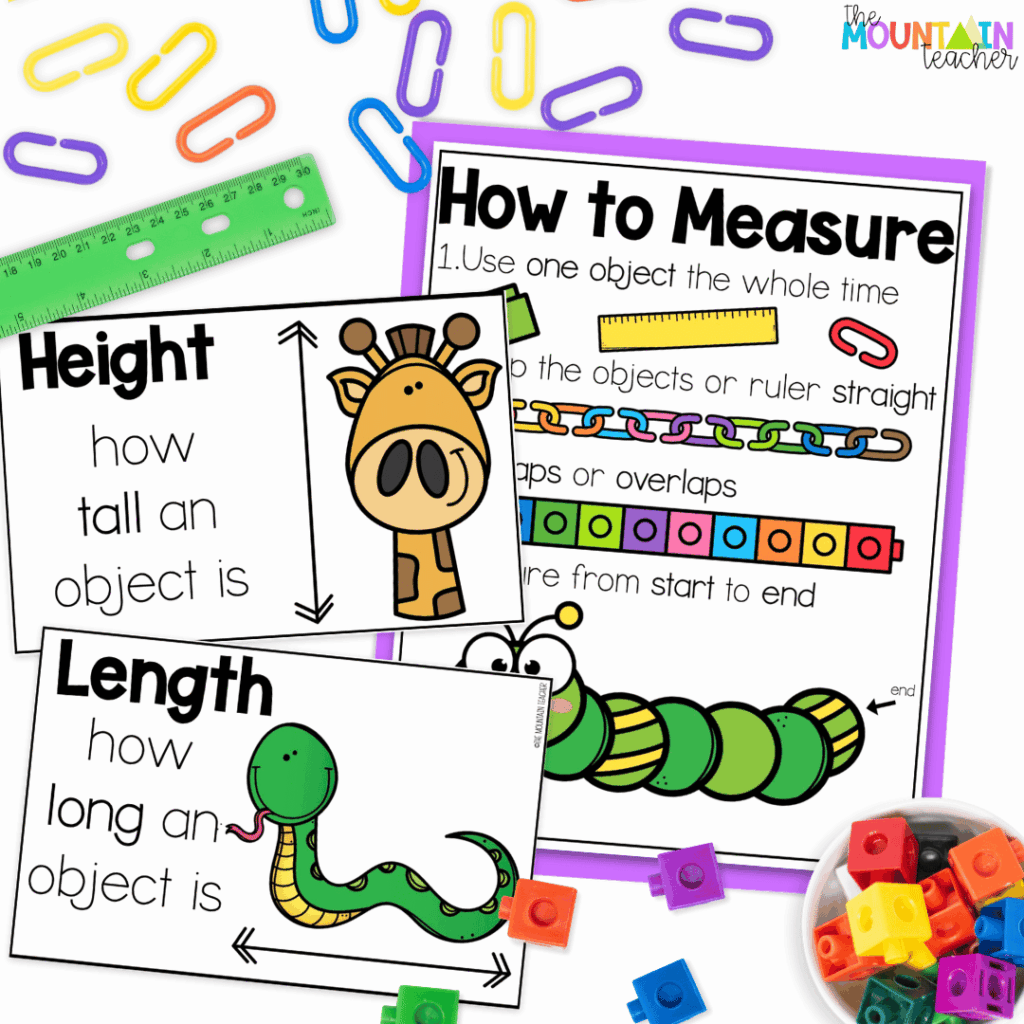
For example, place a book on the table and say, “Let’s measure how long this book is using snap cubes.” Start by lining up the first cube at the very edge of the book and model, placing each cube directly next to the last one. As you work, narrate your thinking: “Watch how my cubes are touching each other. If there’s a space between them, our measurement won’t be correct.”
You can even show what happens if a gap appears and ask, “Does this look right?” Let your students explain why the cubes need to touch. These small, guided examples give students a clear visual and verbal model for measuring accurately.
Give your students plenty of time to practice in pairs or small groups, and make sure to refer back to your anchor charts or visuals. Watching each other measure and explaining their reasoning reinforces the concept and builds confidence before introducing rulers.
Step Two: Compare and Sort Objects by Length
Once students are comfortable measuring with nonstandard tools, they can begin comparing and ordering objects. This is where the vocabulary you introduced becomes essential.
Place three classroom objects on a table, such as a pencil, marker, and glue stick, and ask students which item is longest and which is shortest. Then measure each together to confirm their predictions. Guide them with questions like, “How can we prove which object is longest?“
Activities like this help students practice comparing and sorting lengths while reinforcing key terms like longest, shortest, tallest, and smallest. You can also have students work in pairs to measure and record findings, which adds collaboration and accountability to the lesson.
Step Three: Introduce Measuring With a Ruler
After students have a solid understanding of nonstandard measurement, it’s time to transition to rulers. This is often the trickiest part for first graders.
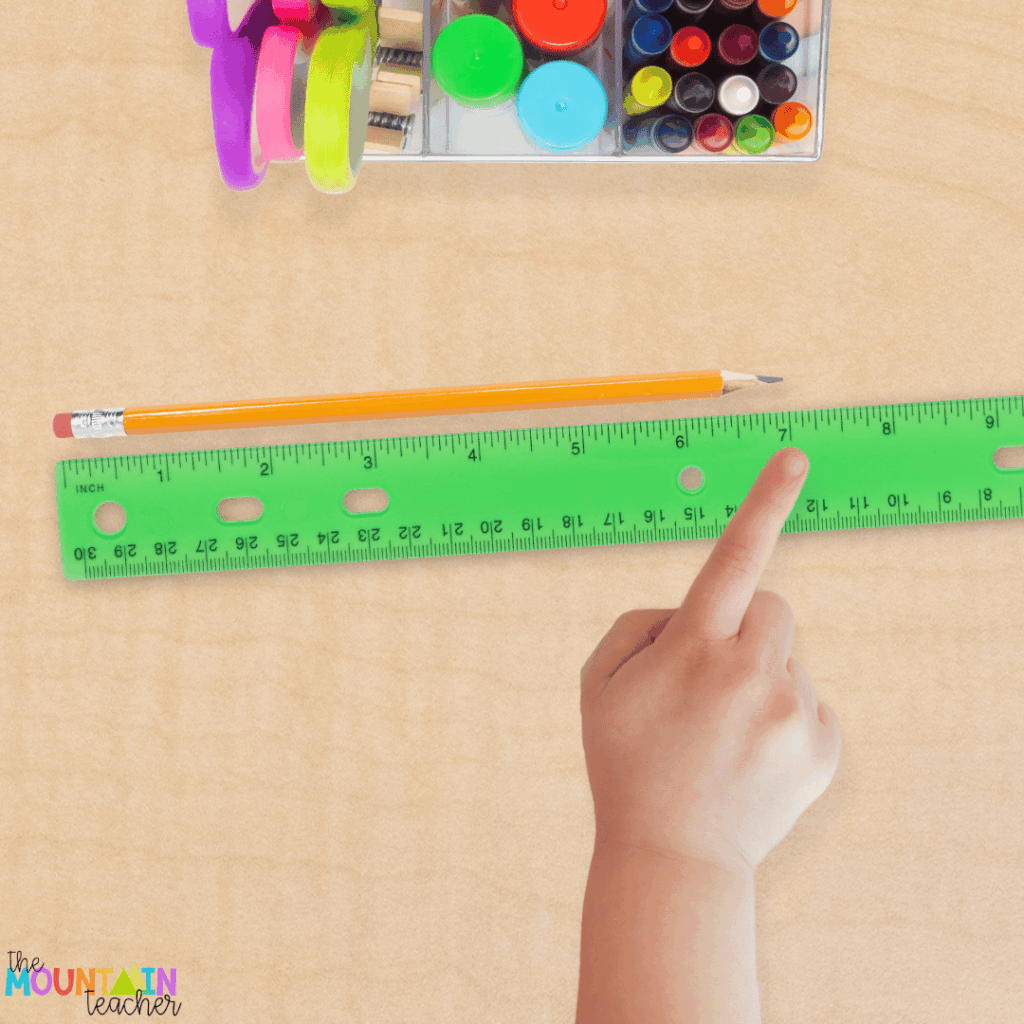
One of the best ways to transition from nonstandard units of measurement to the ruler is with this visual. Use 1-inch snap cubes and line them up next to the ruler so that they can see how the number of blocks relates to the numbers on the ruler. Make sure to point out that the numbers on the ruler tell us when each block ends, not begins. This will help them understand why we start measuring from the end of the ruler and not the number one.
Modeling the process of using a ruler slowly is essential. For example, place a pencil along a ruler and say, “First, we line up the end of the pencil with zero. That tells us where the measurement begins.” Trace your finger along the ruler and count the inch marks out loud with the class. Show students how to read the number where the pencil ends to determine its length.
But. . . don’t stop there. Next, show a common mistake, starting at one instead of zero, and ask, “Does this measurement look correct?” Let your students explain why starting at zero matters. Continue modeling both the right and wrong ways to measure with a ruler.
Once you have laid the foundation of using a ruler to measure, then it is time for lots of hands-on practice.
A Simple Routine for Your First Grade Measurement Lessons
Want a closer look at how to effectively implement these first-grade measurement lessons in your classroom? Try a predictable routine like this one to make your math block run smoothly:
Warm-Up (2 minutes)
Ask a quick question comparing two objects or estimating which is longer. This is a good time to allow students to provide some input and explain their thinking aloud.
Mini Lesson (5 minutes)
Teach the day’s skill using an anchor chart and manipulatives. Keep it focused, concise, and aligned to the topic of the day.
Guided Practice (5 minutes)
Next, allow students to measure more objects together, discussing thinking and reasoning.
Independent Practice (5 minutes)
Last, allow students to practice on a worksheet aligned with the lesson. This is where you can spot check for understanding and see who needs to circle back around.
Repeating this routine each day helps students stay focused and builds consistency throughout the unit.
Practice That Builds Confidence
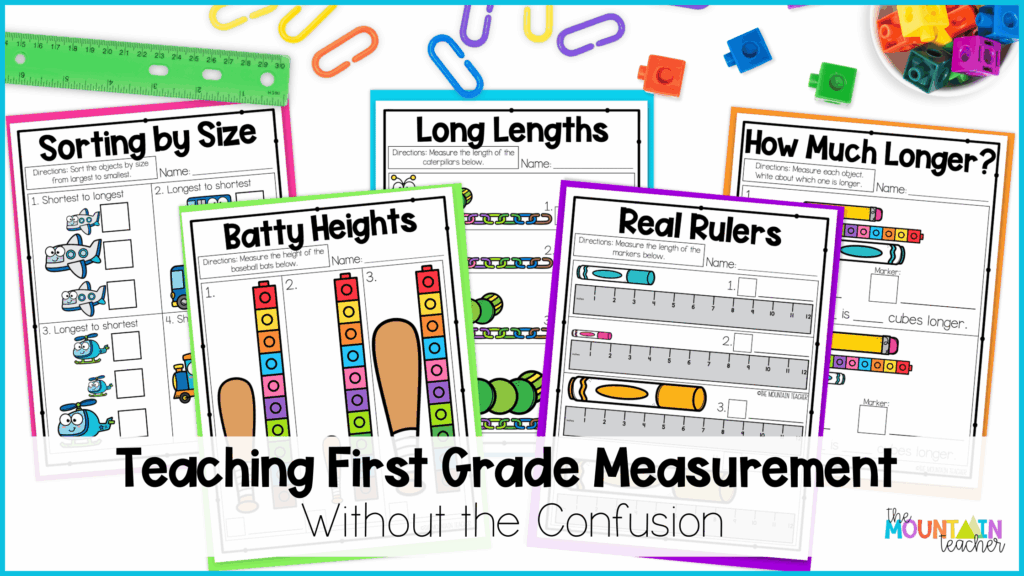
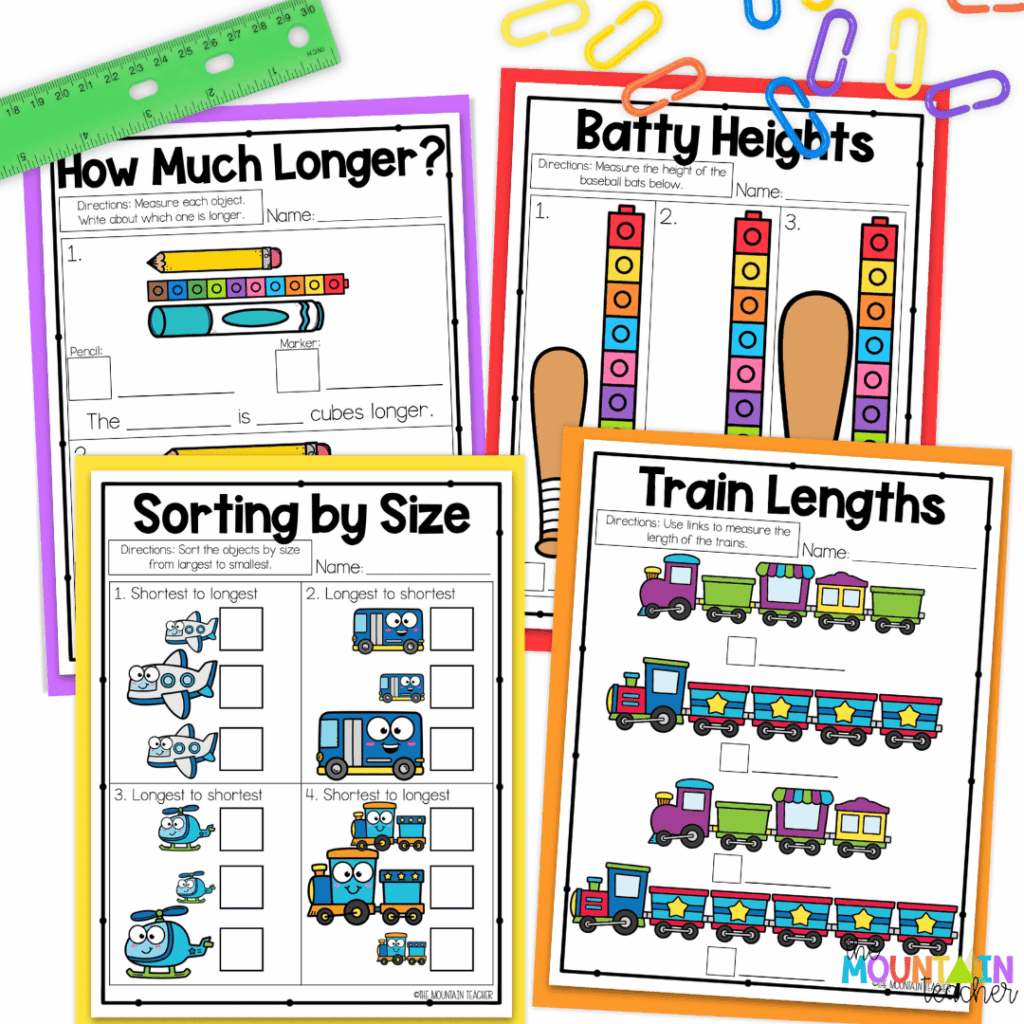
Once students have explored measurement with manipulatives and visual models, structured practice helps reinforce their skills. In my First Grade Measurement Unit, you will have just the support you need to make this happen! Inside, you will find worksheets aligned with each lesson that allow students to practice measuring, comparing lengths, and identifying height versus length independently.
These worksheets are actually FUN for your students and encourage them to use manipulatives, too. This helps ensure engagement stays high, even during practice time.
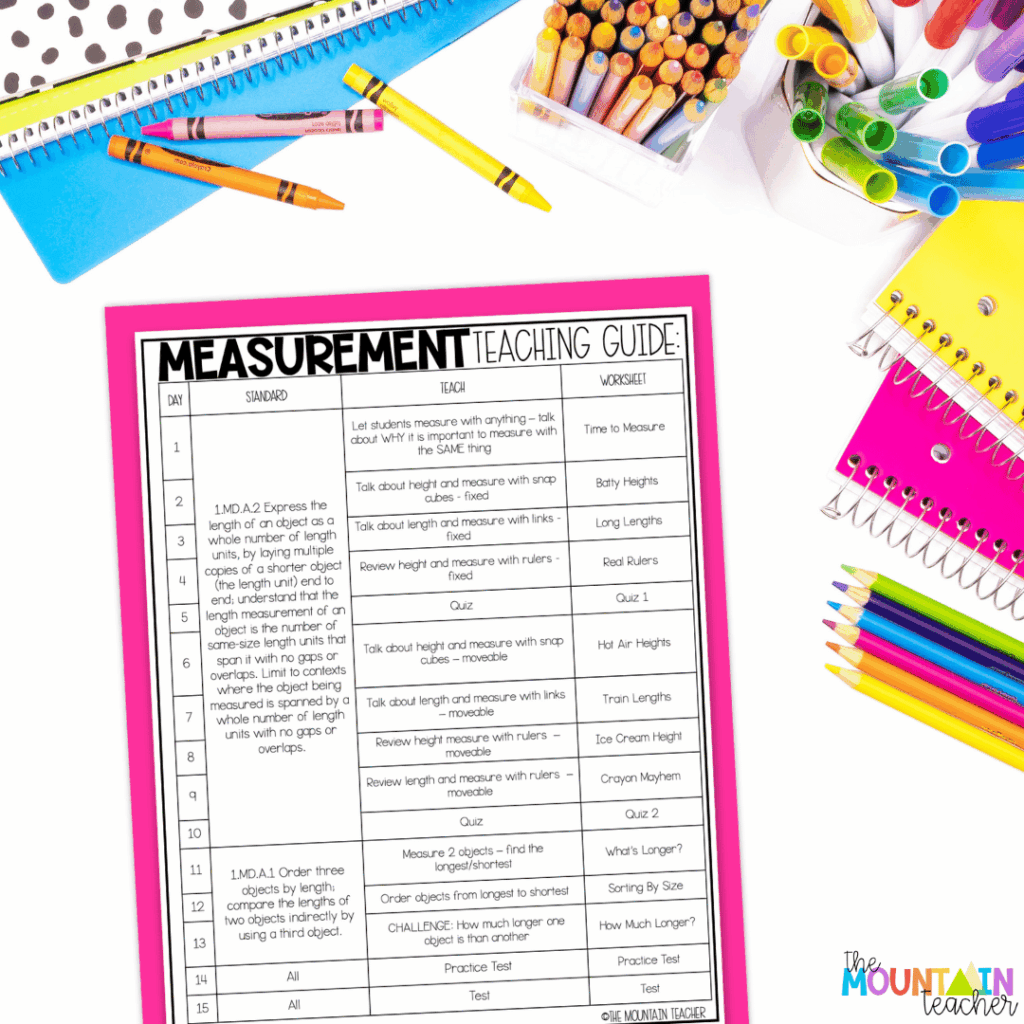
I’ve also included a 15-day teaching guide, so you will know exactly what to focus on each day. You can conduct your lesson, practice with manipulatives, and then follow up with the worksheet for that day to bring it all home.
This approach also makes it easier for you to quickly see who understands the concept and who may need additional support. The daily focus keeps students from feeling overwhelmed while building both confidence and competence.
Make Teaching First Grade Measurement Easier
Teaching measurement doesn’t have to feel overwhelming. When students begin with nonstandard tools, explore hands-on activities, and gradually move toward using rulers, the concepts become much easier to understand.
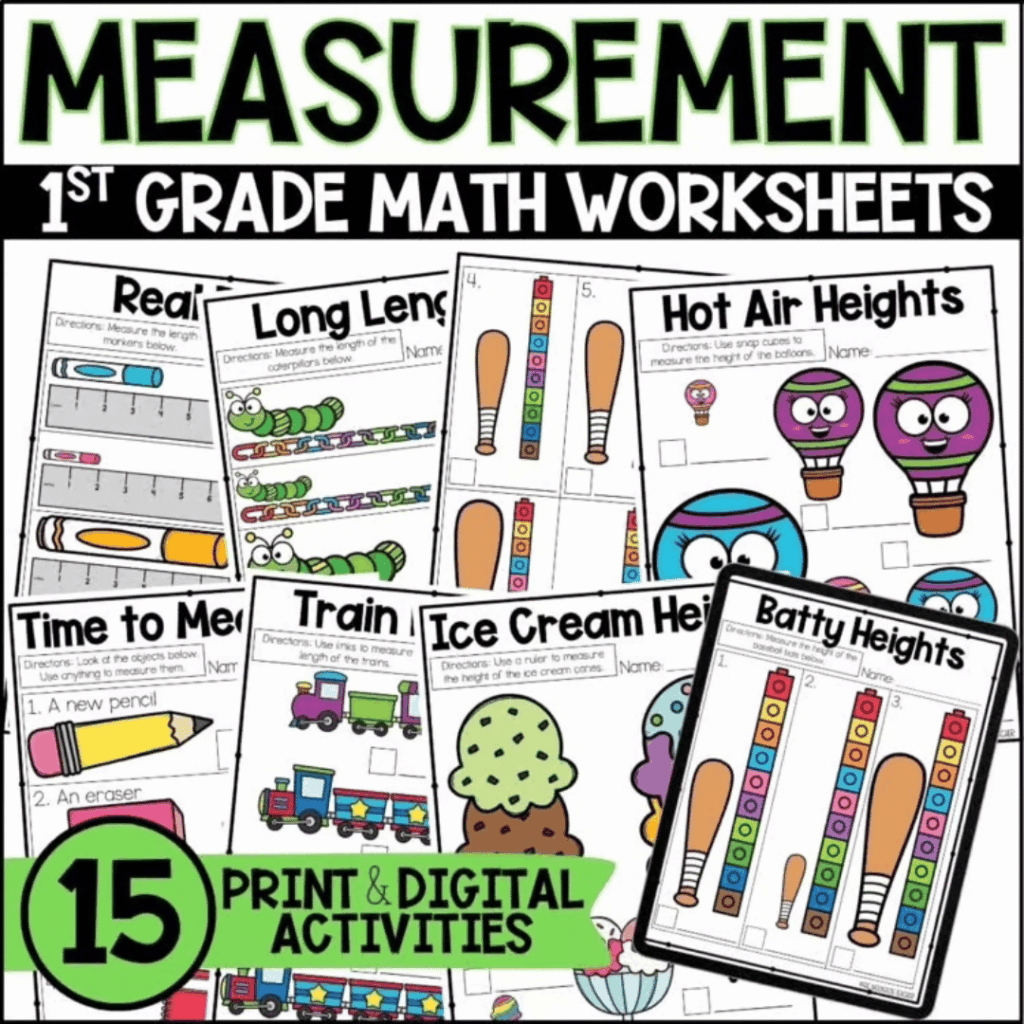
Inside this unit, you’ll find everything you need already organized and ready to use:
- 15 days of worksheets
- 2 measurement quizzes
- Pre/post tests
- 15-day teaching guide
- Anchor charts & visuals
- Answer keys
- Digital versions of the activities
- 30-page Easel activity set
The lessons are designed to focus on one skill at a time so students can build confidence as they move through the unit!
If you’re ready to simplify your measurement lessons, check out the First Grade Measurement Unit. You can preview the activities, see how lessons are structured, and grab the unit to make your next measurement block smooth and stress-free. Your students will gain confidence in measuring, comparing, and understanding length and height, all without the guesswork!
Want Your Whole Math Year Planned?
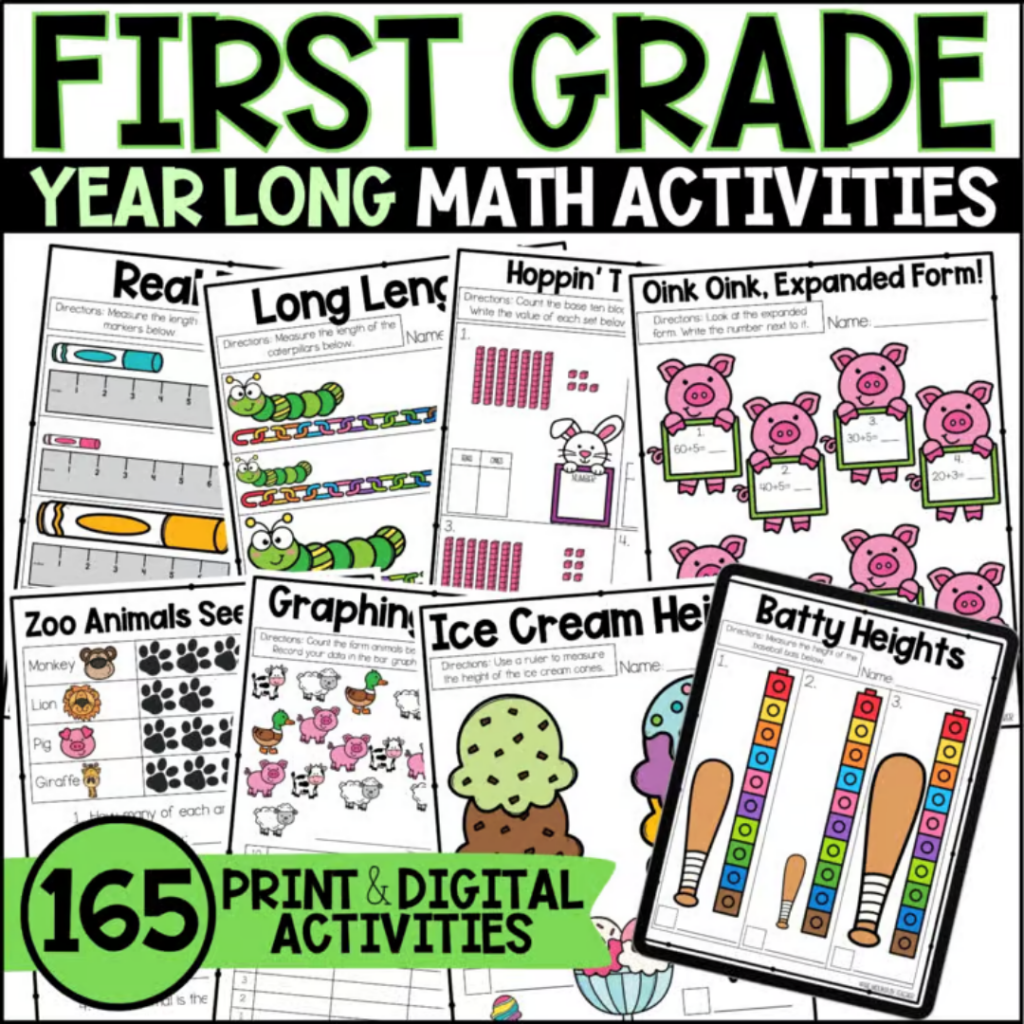
Loving this structure and wishing you had this kind of clarity in ALL your math lessons? The Year-Long 1st Grade Math Bundle is a total teacher lifesaver. Inside the bundle, you’ll get:
- 8 complete first-grade math units
- 165 worksheets and activities
- Teaching guides for each unit
- Assessments
- Weekly quizzes
- Anchor charts or posters
- A year-long scope and sequence
The bundle covers essential topics like place value, addition and subtraction, word problems, measurement, data and graphing, and more. Grab the bundle today to start your next math unit tomorrow!
Looking for More?
Be sure to read these posts next for more classroom inspiration!
- Setting Up Practical Math Centers that Show Results
- Teaching Kindergarten Geometry: Ideas for 2D & 3D Shapes
- Easy to Use Measurement Lesson Plans for 2nd Graders
Save These First Grade Measurement Teaching Tips
Make sure to pin this post on Pinterest so that you can quickly and easily find it later!