Easy to Use Measurement Lesson Plans for 2nd Graders
Easy to Use Measurement Lesson Plans for 2nd Graders
Do you need the best measurement lesson plans for your 2nd grade students? Starting with a scope and sequence is the best way to make sure you hit all of these important topics. Scroll on for 3 weeks of ideas to teach 2nd grade measurement and to grab a FREE lesson to get you started.
Lesson 1: Nonstandard Measurement
Lesson 1: Nonstandard Measurement
You may be asking yourself why teaching students to use nonstandard measurement is important. This is so students understand WHY we have standard measurement tools.
There are several fun ways to teach students to measure with nonstandard measurement tools. This is when I like to break out all of my favorite manipulatives.
The best lesson for this skill is to give students a list of objects to measure using ANY tool they want – paperclips, pencils, snap cubes, etc. Give them ample time to measure everything around the room with one tool and then even a second tool.
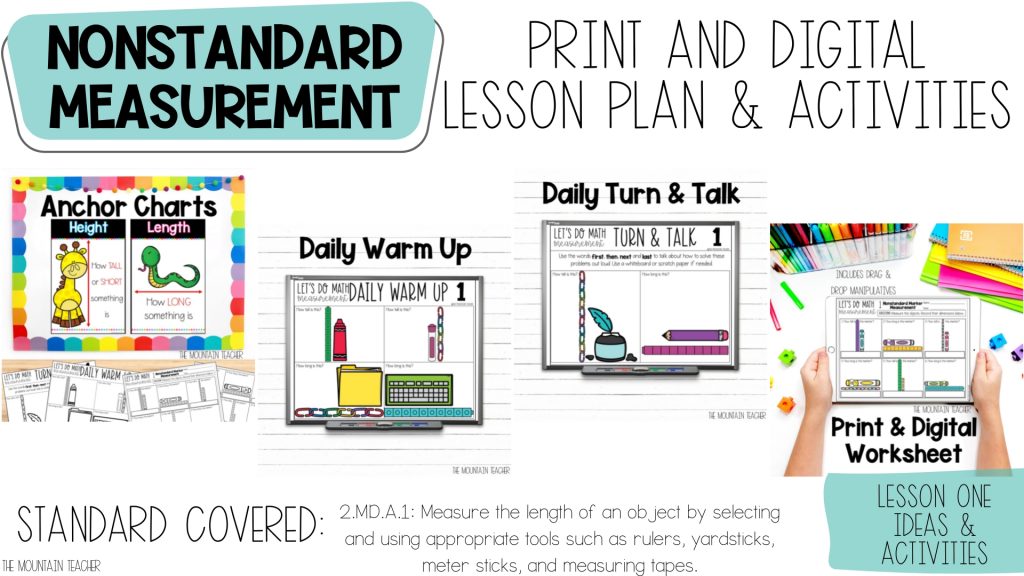
After you’re done, go over the answers students got. Ask students why everyone got different answers for the same items. This is because they all used different tools to measure.
Use this as a jumping point for your overall unit on standard measurement. This is a great time to then introduce standard measurement tools (rulers, yardsticks, tape measurers, etc.).
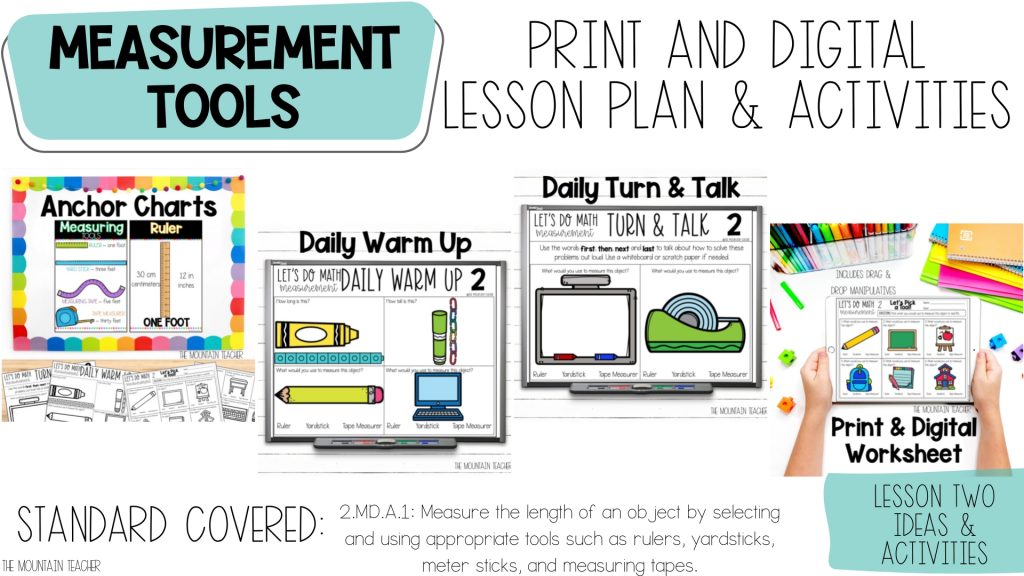
Lesson 2: Picking a Measurement Tool
After you have discussed why standard measurement tools are important, students are ready to learn which type of tool to use and when.
For 2nd grade, I like to introduce rulers, yard sticks and tape measurers.
There are many good “hooks” you can use to introduce this skill, but my favorite is to ask students to measure the whiteboard using their rulers. When they are done, I whip out the tape measurer and show them how easy it can be with that tool.
We then discuss how for larger objects, bigger tools are easier. But for smaller projects where you want more precise measurements, a ruler works perfectly.
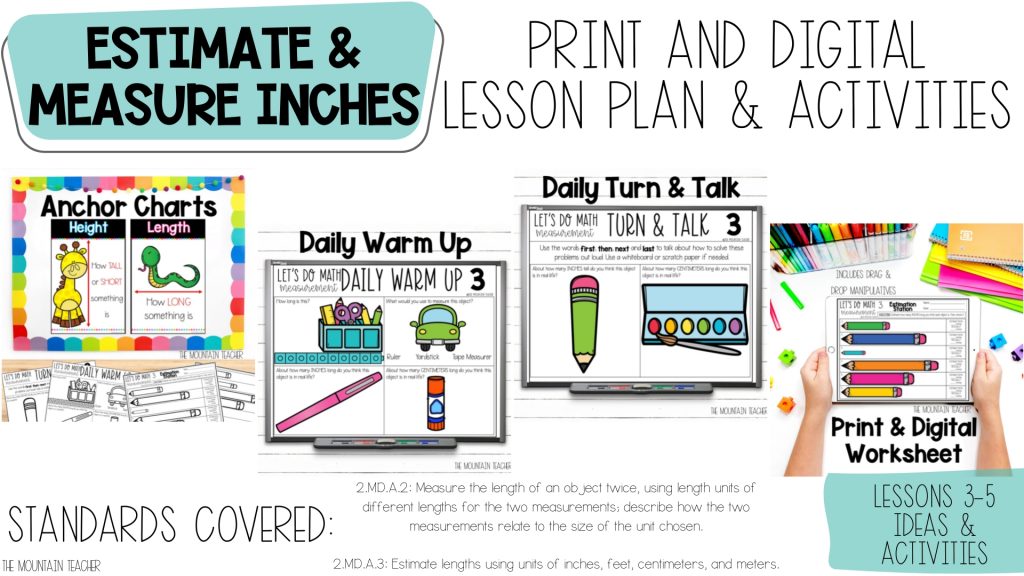
Lessons 3-5: Estimate Measuring & Practice
After students are familiar with the standard measurement tools, it is time for them to practice measuring and also estimating.
To estimate, I show students how they can use their finger to estimate an inch (the space between their two top knuckles on their pointer finger) and can use their forearm to estimate a foot. They can also estimate centimeters using the width of their pointer finger.
We talk about how we might not always have our rulers handy, so making close estimates is important.
We then spend a few days making estimates, then testing our answers with rulers. This also allows them to have more time practicing making actual measurements.
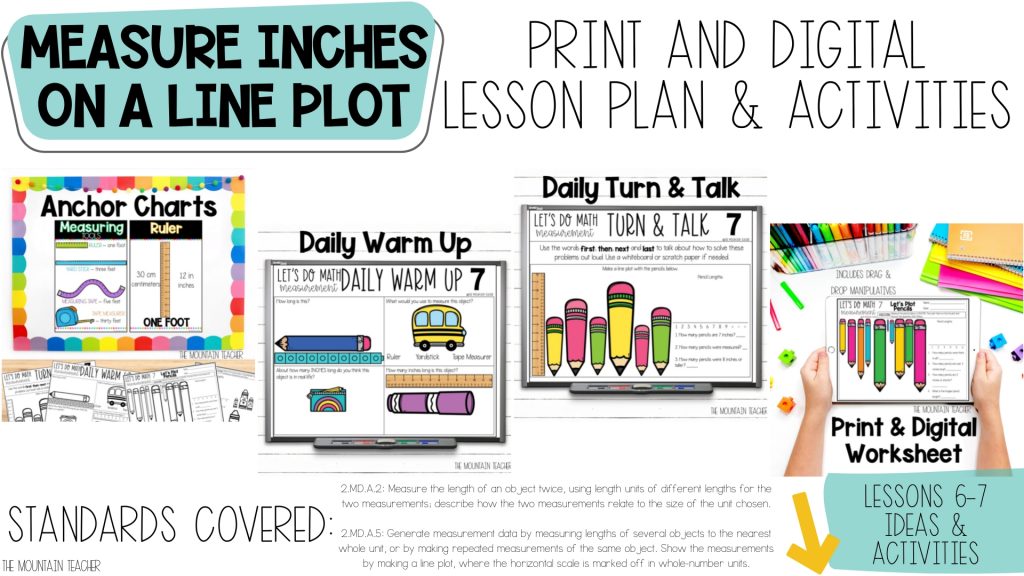
Lessons 6-7: Measuring and Graphing on a Line Plot
Lessons 6-7: Measuring and Graphing on a Line Plot
Students need a LOT of practice measuring with inches and centimeters, so we spend extra time on this and then practice plotting the measurements on a line plot.
Students love to measure objects around them that have meaning to them. We spend one day measuring all the pencils we can find, and one day measuring all of our crayons.
The most difficult part measurement lesson plans is making sure students are starting their measurements at the 0 on the ruler, and are also familiar with the fact that not all rulers have that 0, but they still need to know where to start.
It also helps if you have rulers in your classroom that have a space between the edge of the ruler and where measurements start. This insures students know how to practice measuring with all different types of tools.
Lessons 8 & 9: Measuring with a Broken Ruler
Now that students are absolute MASTER measurers, it is time to test their true knowledge of how measurement works.
The best way to do that is by having students measure using a “broken” ruler.
A broken ruler doesn’t necessarily have to be broken, but you are allowing students to practice measuring from ANY point on the ruler to find out how long an object is.
For example, you might have them measure their pencil but start at the 3 inch mark on the ruler. The pencil might go from the 3 inch mark to the 8 inch mark, but students need to be able to calculate (or count) that the pencil is 5 inches long, even though it goes to the 8 inch point on the ruler.
I spend 2 days doing this – one day working with inches, and the next in centimeters.

Lesson 10: Quick Check and Review
Before moving to the next concept, I find it highly important that students have mastered the previous skills.
Typically, I do this by having a quick 5 question quiz and then spend a day reviewing with students who might still be struggling.
This is also a great time to add enrichment work for students who are already excelling in this topic.
Lessons 11-13: Comparing Lengths
Comparing lengths is the most difficult topic when teaching measurement lesson plans to your class.
Students need to be able to look at two different objects, measure both objects, and then determine the difference between those two objects.
The BEST way for students to do this is with a subtraction equation. Many students will try to physically measure the difference between two objects with a ruler. This leaves a lot of room for technical errors and is not best practice.
I spend 3 full days working on this skill. I also find it best for students to practice this skill orally first before writing the skill down.
It is a great skill to work on in small groups.
Lessons 14-15: Review & Assess
When the unit is over, I spend a full day reviewing.
Typically, my review day consists of letting students work through a practice test with a partner. We talk a lot about how this test is not focused on them getting the right answers (to prevent copying) but rather to make sure they can do it on their own tomorrow.
We then go over the answers to the practice test together. I send the practice test home so parents can spend time looking over it before the assessment the next day.
Finally, we do our post test. If students struggled as a group with a skill, I know I need to reteach the whole class. Otherwise, I use my data to form small groups to reevaluate skills missed and then it is time for our next unit!
Try a Free Lesson!

Grab everything from this post & more for your classroom today!
Looking for the best centers to match? Read my next post for more great hands on measurement activities.